14 June 2006 - The set up
28 June 2006 - The swarm catching - CLICK HERE
1 August 2006 - 1st Rain but no colony...yet - CLICK HERE
25 October 2006 - We have 2nd & 3rd rain and a Colony - CLICK HERE
July 2007 - We have veld fire and all goes up in smoke! Logbook on hold.
Welcome To the JHH Logbook - June
The Jackson Horizontal hive is based on the top bar hive design however it has some unique modifications.
June 14th
Jeffrey and I place bricks at the chosen site for placing the JHH. I fetched the JHH and placed it on top of the brick base under a small tree facing North.
Before I could do this however I placed wax starter strips into the frames.
Check the picture. I did this using a beeswax candle and thin 2cm wax strips.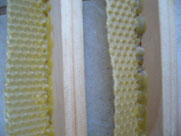 The beeswax candle is lit and the melted beeswax embeds the starter strip in the groove under the top bar of the frame. As you can see these are two frames lying side by side which have had wax starter strips added. The beeswax candle is lit and the melted beeswax embeds the starter strip in the groove under the top bar of the frame. As you can see these are two frames lying side by side which have had wax starter strips added.
This is an important exercise as it assists the bees to build the comb straight inside the hive. Some beekeepers prefer to use full wax foundation sheets. These come in different sizes as different cells are rolled into the foundation sheets depending on the purpose iit is being used for.
Brood foundation has a larger cell than that of honey. The Langstroth frames also differ in size as well. Make sure you use the correct foundation sheet for the correct purpose. Brood foundation is for use in the brood chamber only and the same for the honey foundation. Bear in mind that the wax sheet makes comb honey harder to chew.
Having finished that this is what our site looks like with the JHH placed on to the brick base. 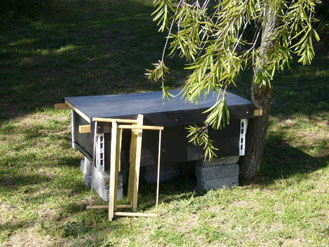
This is the JHH bee hive site for the logbook experiment.
The left hand side of the box is where the entrance is. The white slats are brackets to reinforce the box for when it is full of honey. I can stand on the box and it will easily take my weight. I should take a pic of that before any tenants move in. *note to self*
The two wooden arms showing on the left-hand-side are the supports running along the top inside of the box. The arms are drilled to be used as points for suspending the box under a tree using wire. The JHH is designed for this purpose as it is creates a more natural site for bees elevated from the ground and easily adjusted to lesson ant, badger and termite distrubance or damage. Most importantly, it could then also be suspended out of human traffic or interference.
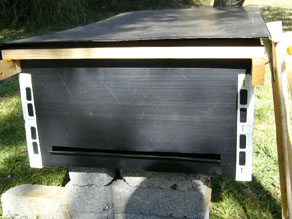
The front slit is the cut entrance.
I then open the box to reveal the inside frames. Note that they run across the entrance opposite to the concept used in Langstroth hives.
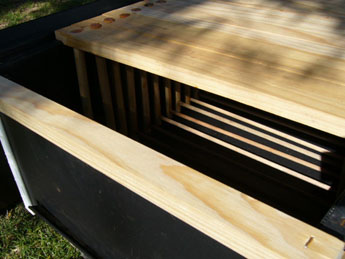
Now see the full length of the top bars: Note that there is no bee space between the frames. There is a reason for this which I will bring up at a later stage.
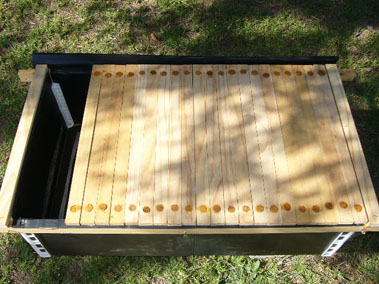
Here are the last photos taken with regards to the placement of the hive at the chosen site.
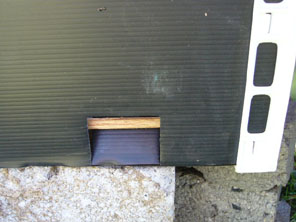
The smoker hole at the back of the JHH. It closes easily.
Once the JHH is ready for harvesting we will open the bee Smoker hole, place the smokers nozzle inside the box and send 3 puffs of medium smoke into the back of the hive.
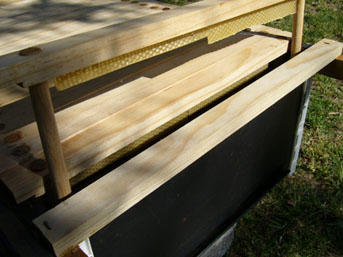
The final setup and first stage of the JHH Logbook experiment.
Be sure to check the next insert.
[Bee Gloves] [Bee suits] [Hive Tools] [bee Hives] [Smokers] [Blue book]
[Wax foundation sheets] [Queen excluders] [Bee brushes] [Honey knife] [Extractors*]
** Call to discuss your needs. Go to Contact Us!
|
